After completing your Stripe registration, you will be redirected to the Products section of your store. This is where you can create, manage, and track all the models you sell on ResinGuild.
1. What You See in the Products Section
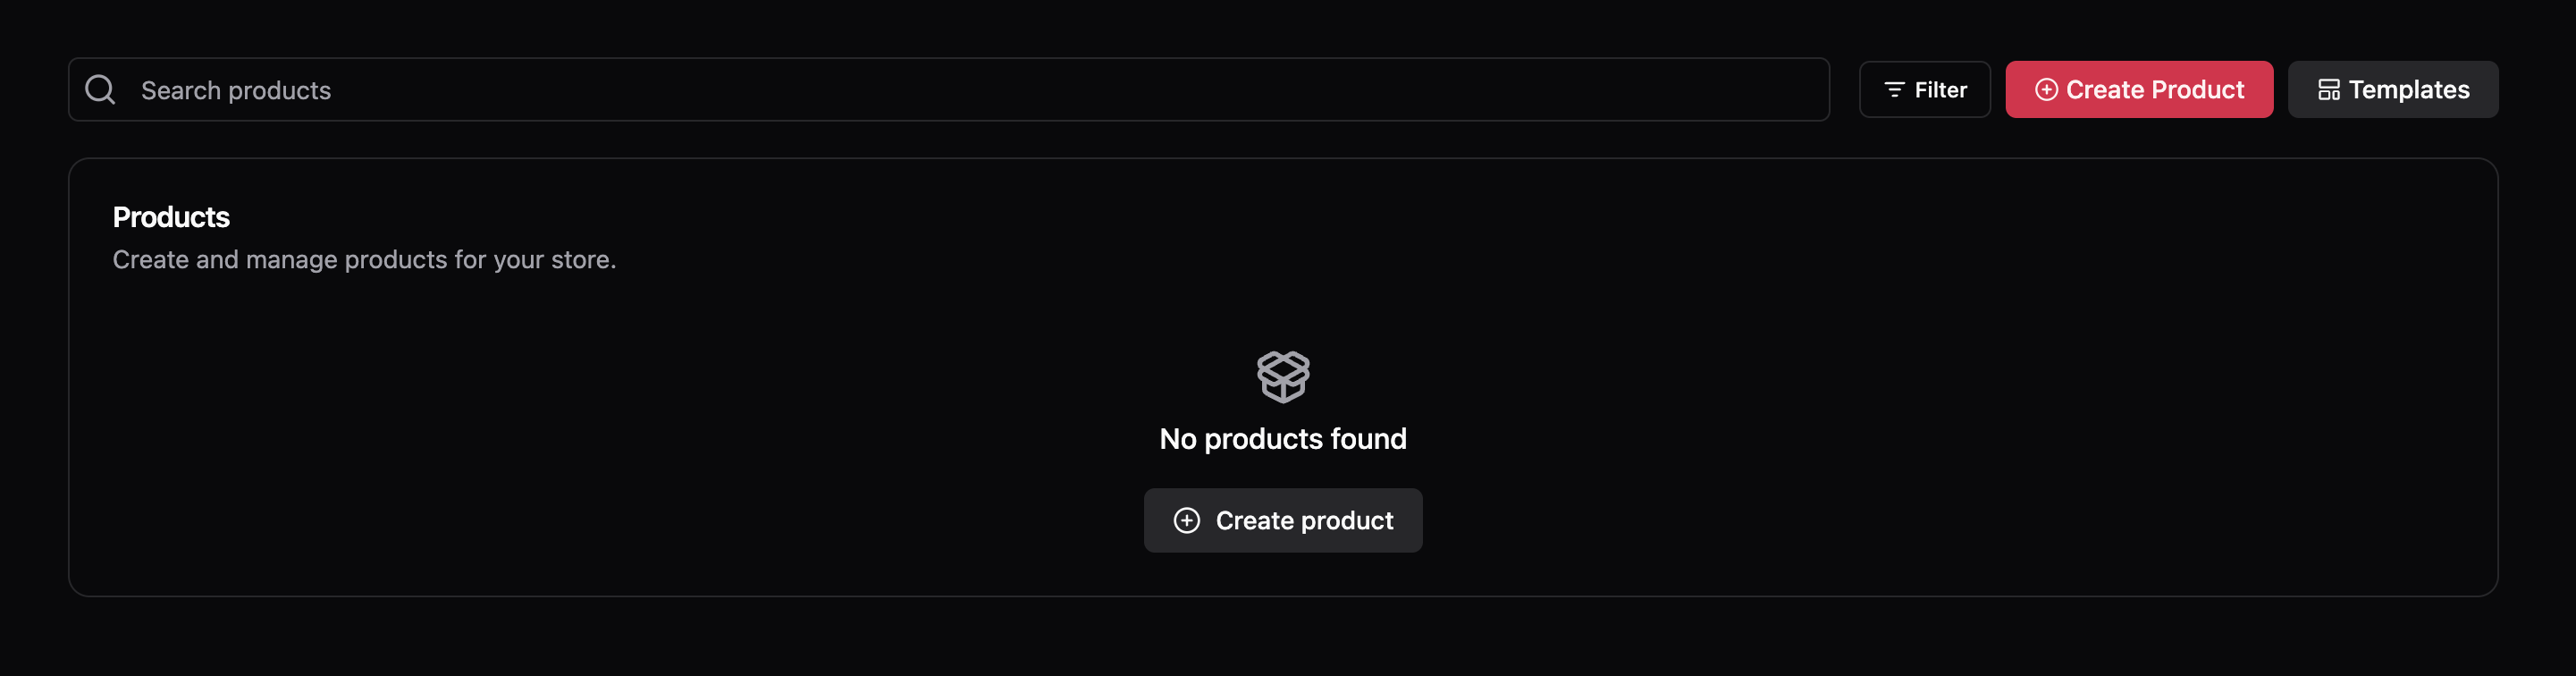
• Search Bar: At the top left, you can search for specific products you’ve uploaded.
• Filter Button: Allows you to sort and organize your products based on different criteria.
• Create Product Button (Red): This is the main button you’ll use to upload a new model.
• Templates Button: Lets you use pre-made settings for faster product creation.
• Product List Area: Since this is your first time here, you’ll see “No products found”. Once you start adding models, they will appear in this section.
2. Next Steps
To upload your first model, click on “Create Product” (red button). This will take you to the product creation form, where you can add details, images, pricing, and file uploads.
Now, let’s move to the next step: Creating a product in ResinGuild.
Was this article helpful?
That’s Great!
Thank you for your feedback
Sorry! We couldn't be helpful
Thank you for your feedback
Feedback sent
We appreciate your effort and will try to fix the article